Canton CT-1000/2 three way loudspeakers. Apr 2024 I heard a pair of these at a local HiFi meeting and fell in love with them. Overall, I would say they are slightly better than my Yamaha NS-1000m. They have a more relaxed presentation, which is easier on the ear, they go much deeper in the bass than the Yams and have a more fleshed out midrange, with a less forward treble. As such, they are more Amp friendly, the Yams being notoriously picky when being partnered with Amplifiers. They are pretty rare in the UK, having been manufactured in West Germany, that's still where most examples can be found, though many seem to have found their way behind the Iron Curtain. I purchased a pair that were advertised in Germany, they were without boxes and pick up only. I found a local company that would pick them up, pack them, then ship them to the UK. The ones I bought were the later second series and the premium version with Piano Gloss, Mahogany cabinets. The original series had the Mid-range and Tweeter drivers mounted side by side, the mid range had a rear vented chamber and the input terminals were spring loaded. The second series had the tweeter mounted above the mid range and no vent at the rear. The spring terminals were replaced with proper binding posts. Both used the same 12" bass driver in a sealed cabinet of the same volume. 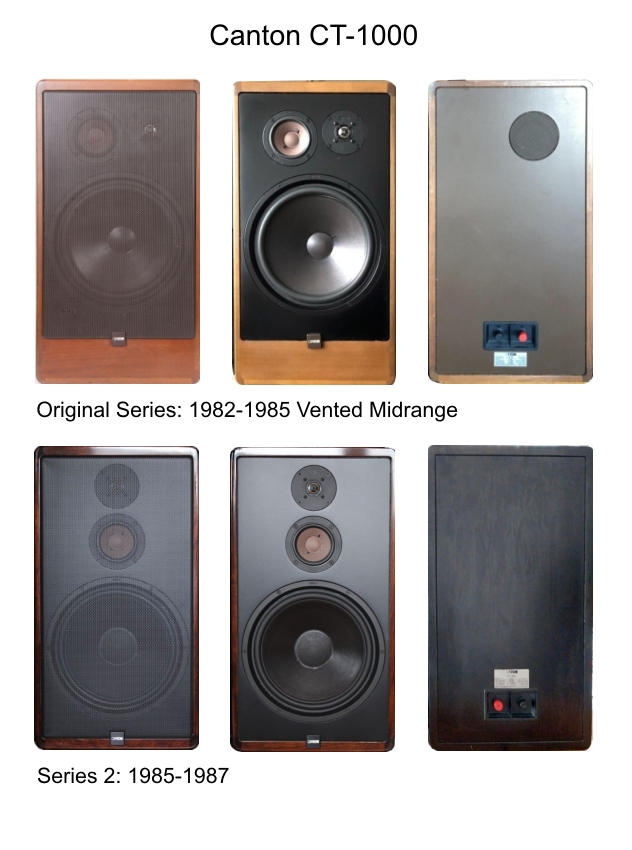 A few shots of mine below, which don't do the finish justice. For items made in roughly 1986, they have been very well looked after. 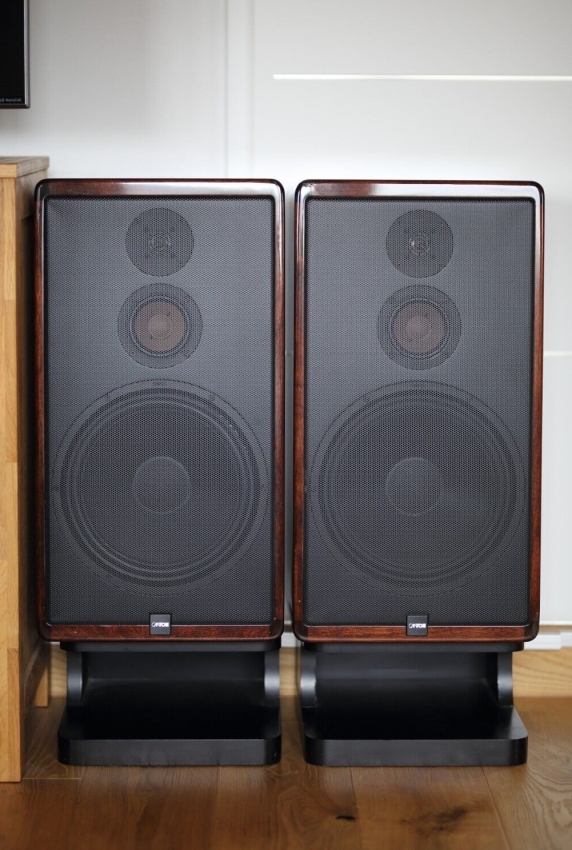 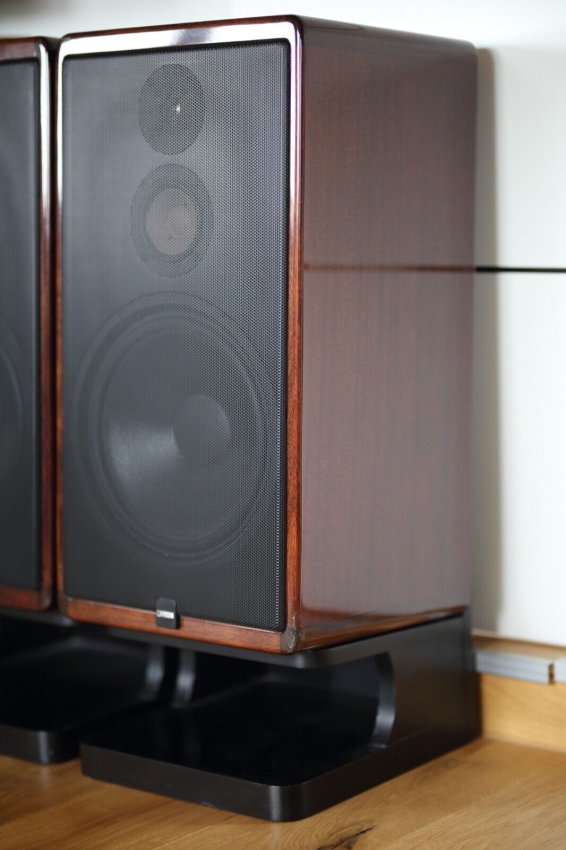 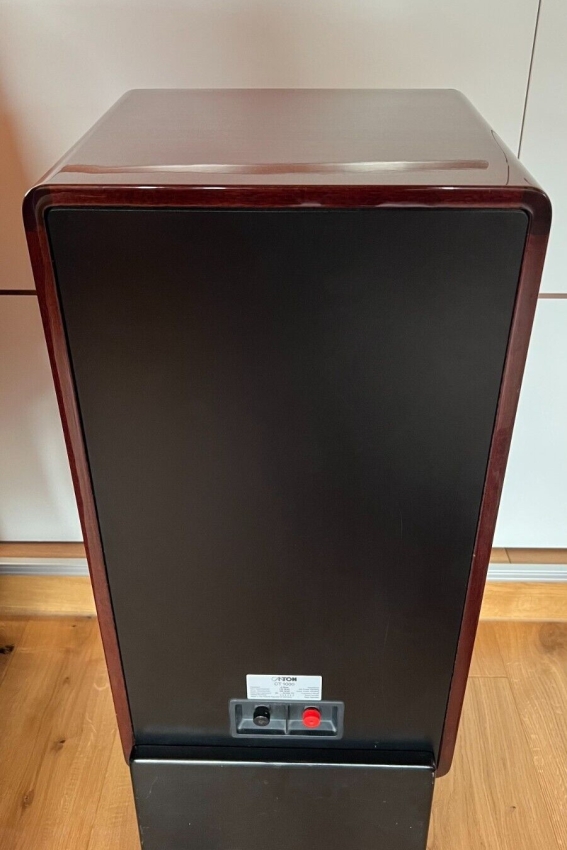 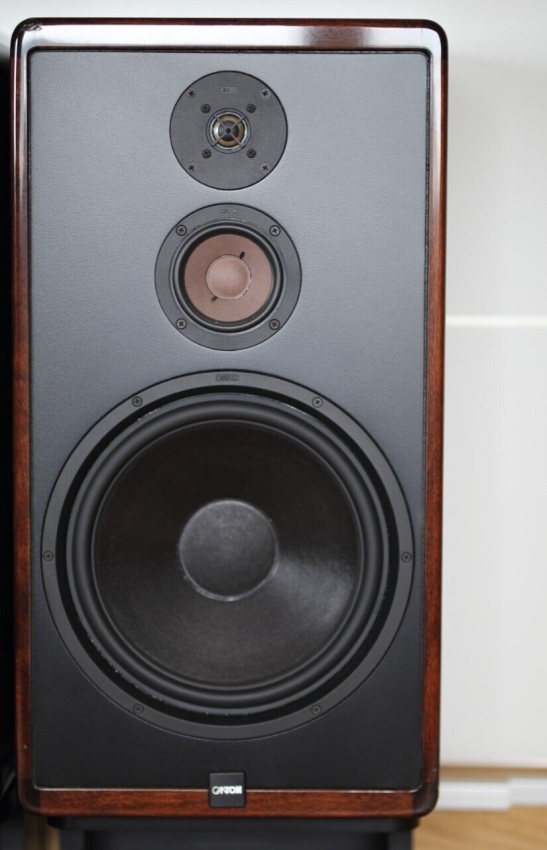 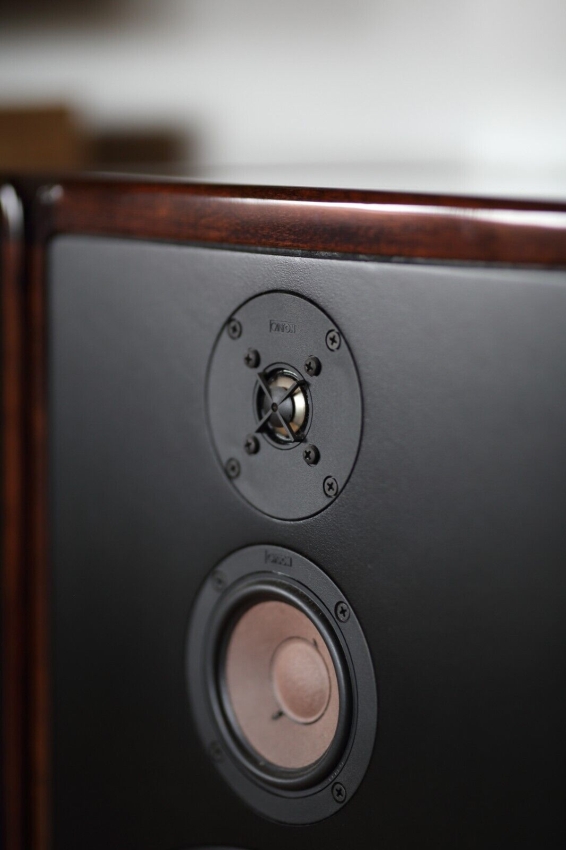 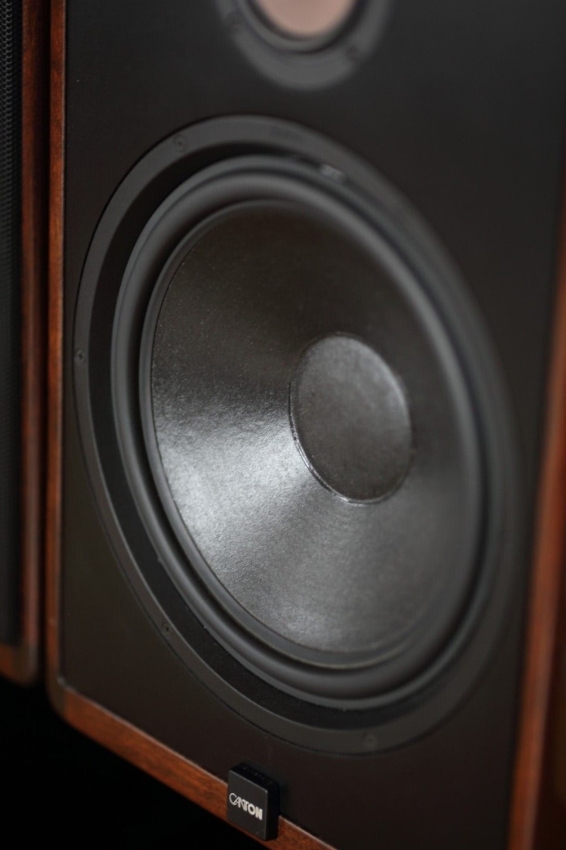 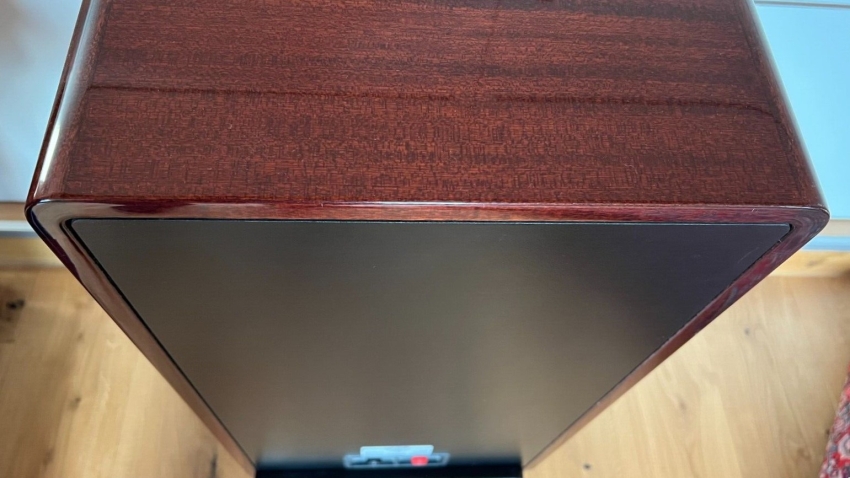 Speaker Stands I need to make some stands for these speakers, I want my Monoblock Amps to sit under each speaker. So with this in mind, I thought along the lines illustrated below. 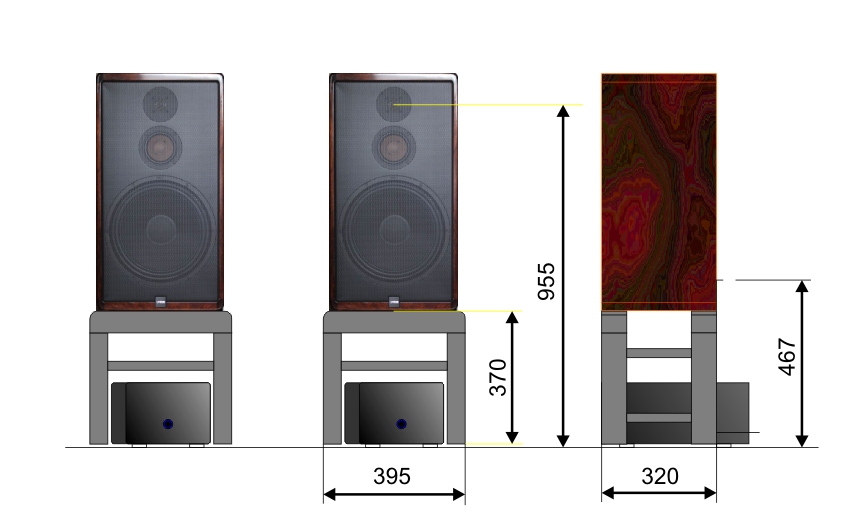 So on with the build....... 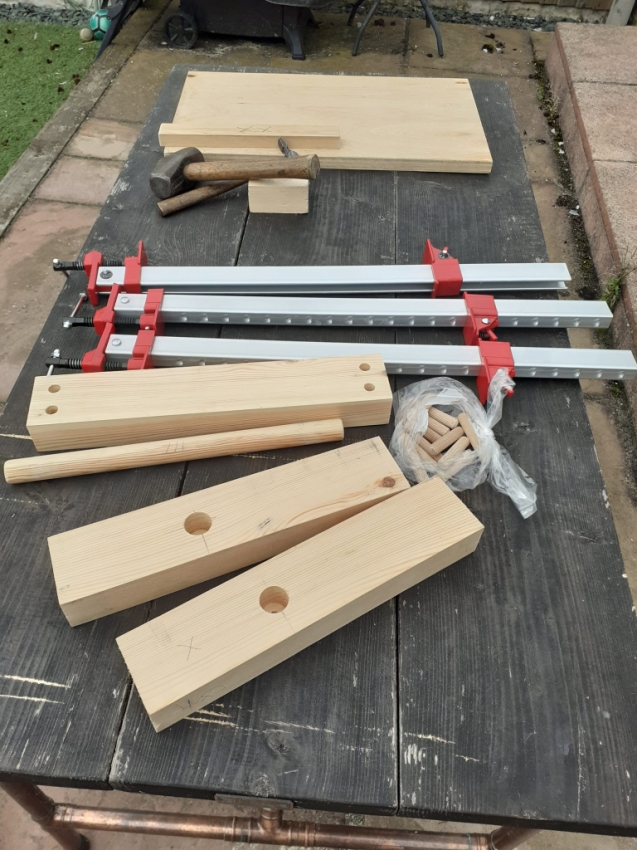 I built the stands, like a chair or stool, using 45 x 70 rectangular timber fixed with 12mm dowels and using larger 25mm dowels as cross rails. 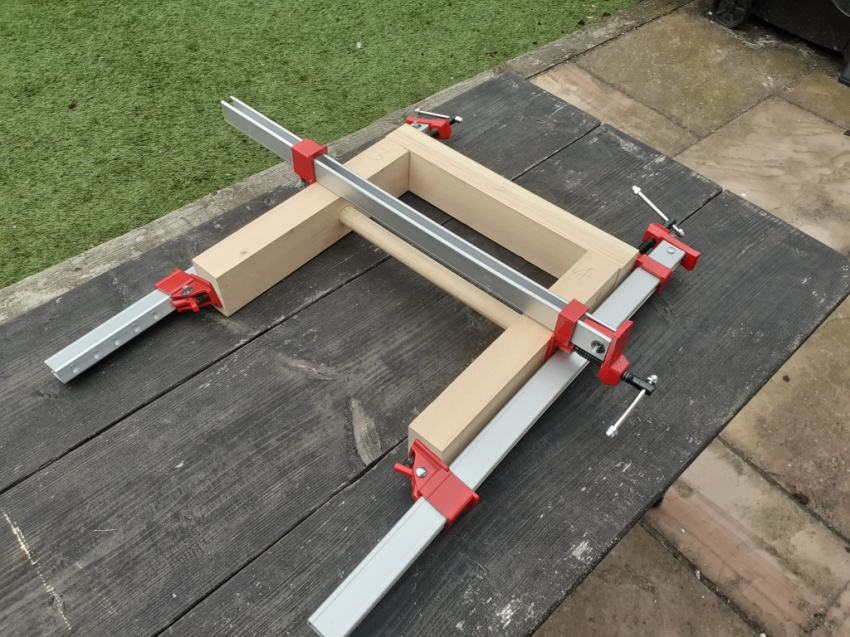 No fixings used, just glue and clamp up. 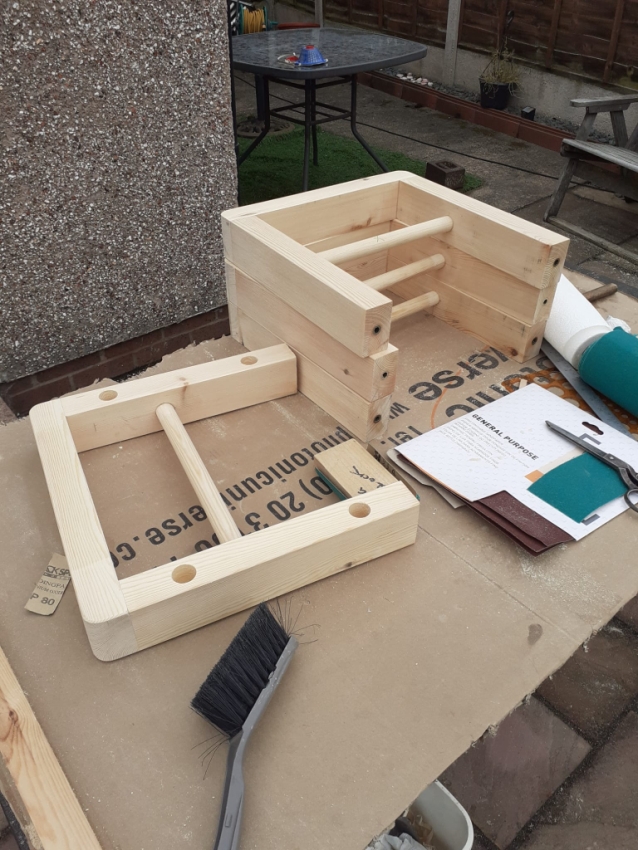 I made the front and back frames first as sub assemblies, all the rough finishing and truing up was done at this stage. M8 Threaded inserts were fitted to the legs, to accept floor spikes. 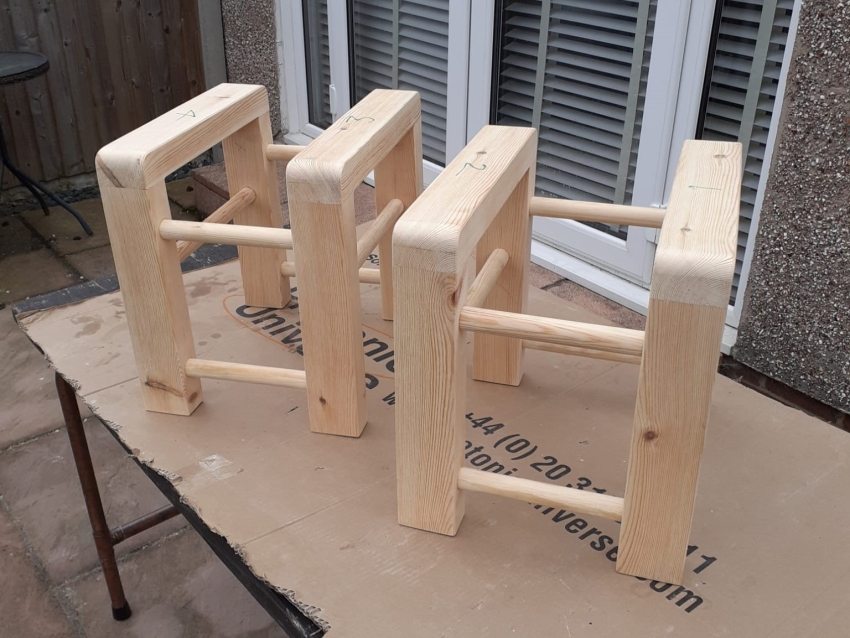 Final assembly and more 25mm dowels were used for the rails between the front and back frames. Just a final rub down with fine sand paper and they're ready for the finish. 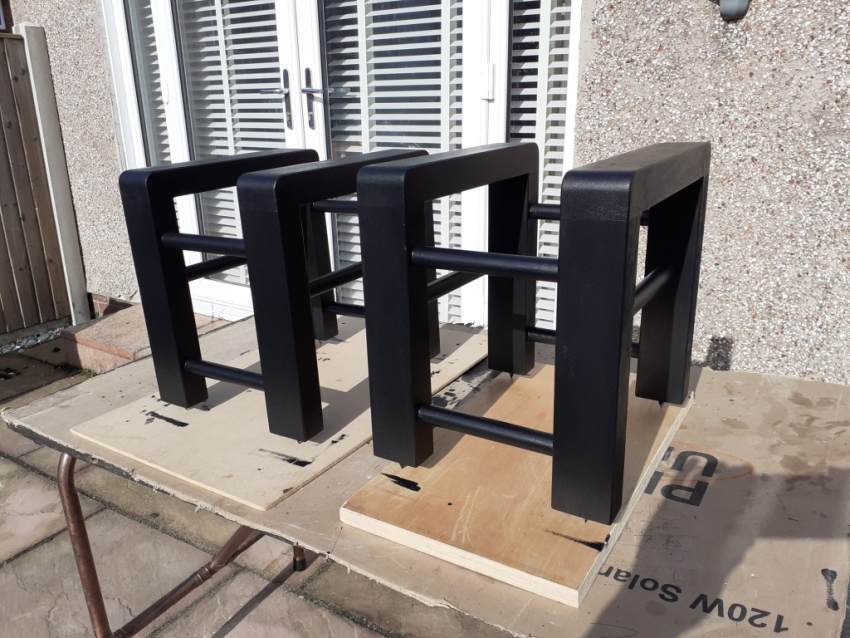 Ebony Black wood stain was applied as an undercoat, then x2 coates of Satin Black Acrylic paint, applied with a brush and roller. 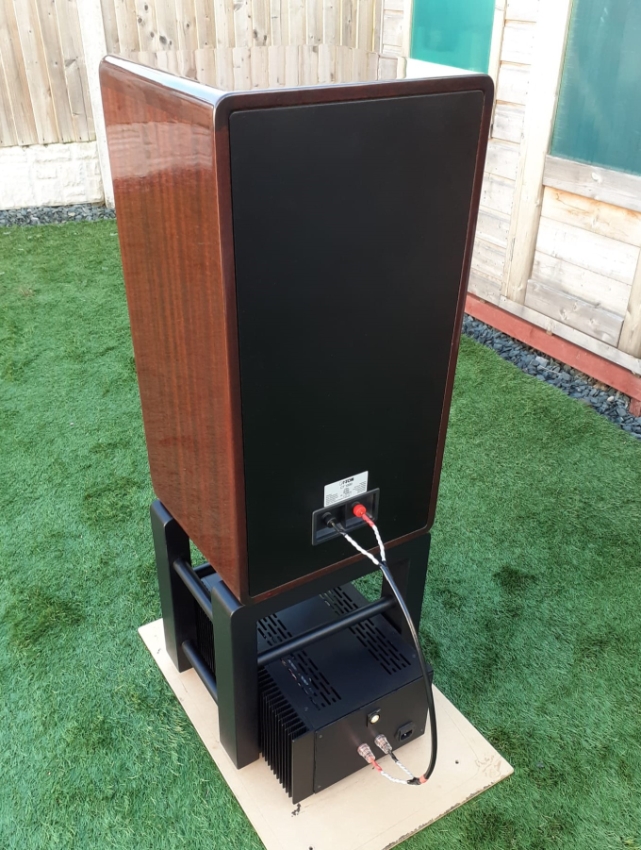 One of the speakers on its stand, with the 600mm Atlas Hyper Bi-Wire speaker cable I made up to connect to the Amp. 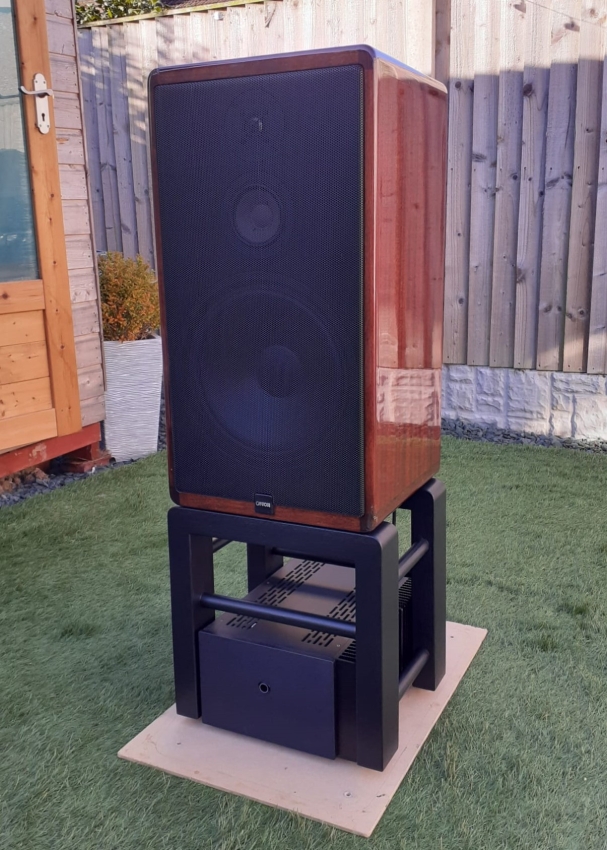 My Neurochrome 686 Monoblocks sit between the legs of the stands and they look well together, I need to get some hours on this set up as the Amps and leads are brand new. Transit Cases I need to make some transit boxes to protect the beautiful gloss finish on these speakers. Thinking along the lines of packing cases I got some panels of 5mm Ply cut at B&Q (measures 4.2mm). I applied soft wood edging of 19 x 38mm sawn timber, purchased from Wickes. It measures 16 x 36mm! For the base, Wickes supplied 9mm Ply (measures 8.6mm) Foam of 15mm thickness for the sides and 20mm for the bottom was ordered from T.K.T. Cosyfoam (Washington UK). Tip: cut foam with an electric reciprocating carving knife. 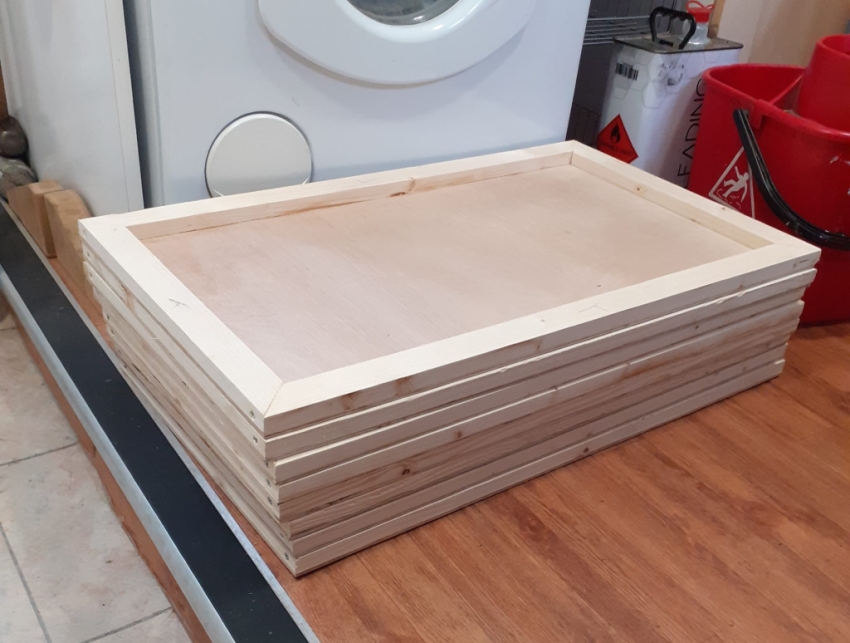 These are the x8 panels I made, ready for assembly. 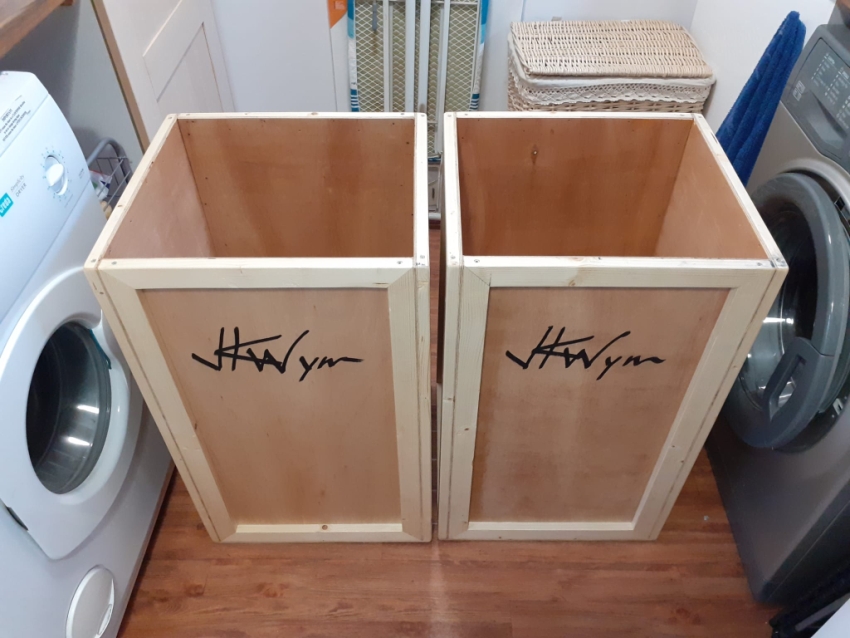 Glued, screwed, panels and bases. A coat of sanding sealer and mat varnish applied. Ready for the foam lining. 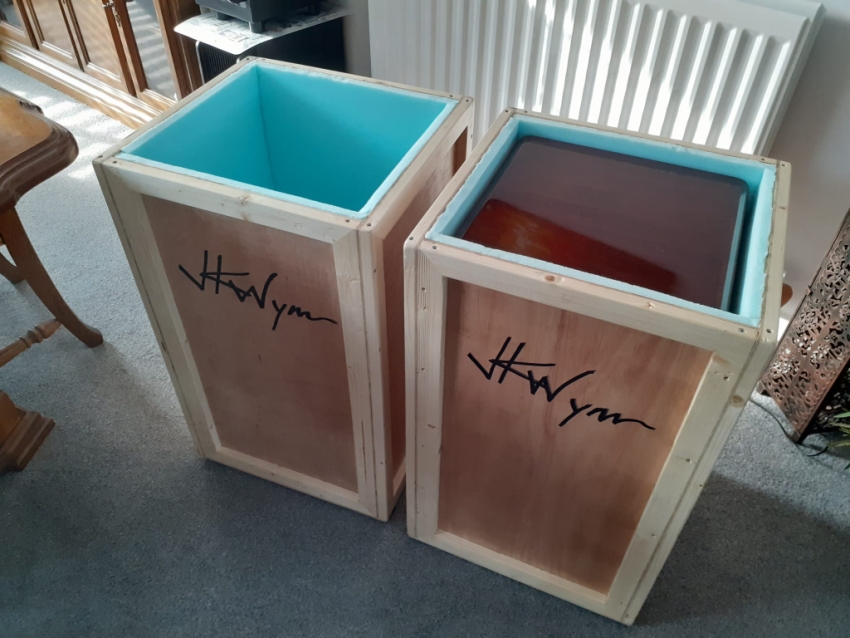 Thats the boxes finished with one of the speakers installed, they fit, phew! Crossover The speakers are nearly 40 years old, the electrolytic capacitors in the crossovers will most likely be out of spec. I decided to refresh some of the parts and take the opportunity, to improve the quality of the Tweeter series cap and resistor. I've kept the original boards and inductors, but upgraded the ceramic resistors. The tweeter had a film cap originally, so replacing that with a modern film cap will not alter the speakers character. The electrolytic caps will be replaced with similar electrolytics. I found out the hard way, that you can't just drop in a film cap as an upgrade, as they have different resistance characteristics. ESR values change with frequency, low frequencies generating much higher resistance. Also smaller capacitance values have higher ESR than larger ones. You can't just drop a fixed resistor in series with a film cap, as this will effect the whole frequency range equally, where Electrolytic ESR is variable, with frequency. In some rare instances, a straight swap to a film cap might be an improvement, my experience is that it will just sound different. Manly because the frequency curve will have altered from the original. If the circuit was designed using the characteristics of electrolytics and you like the way it sounds, keep to electrolytics. Putting a better part in, with different characteristics will sound different, but probably not better. Many folks who rave about their expensive new XO upgrades, end up selling the speakers quite quickly, having lost the magic that they liked in the first place. I got the T shirt for that one in the past.  This is the crossover in my later version CT 1000's.  The single film cap (Tweeter series cap) is in the bottom left corner, the rest are electrolytics.  Here is the crossover with the new parts fitted. I went for the Mundorf E-Cap Bipolar Electrolytics as replacements. Comparison of Old and New C3 cap measurements. Very similar results. You can see that ESR is 2ohms higher at 120Hz than at 1kHz by the time you get down to 30Hz the increase in ESR can be tens of ohms. 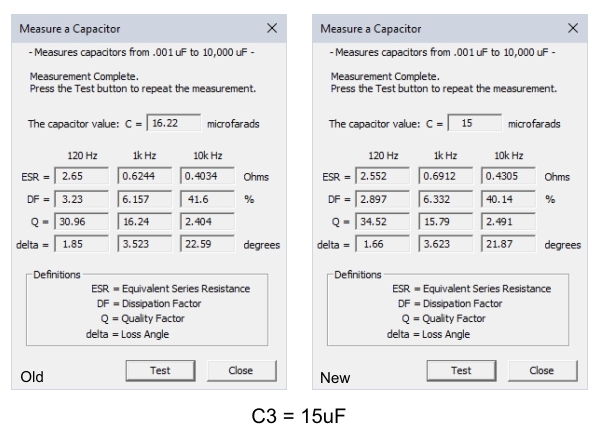 Measured Caps and Resistor Value (Right hand speaker)
(Target) Old
New
C1 (120uF) 145.9 120.7 Mundorf ECap Raw Electrolytic 35V C2 (47uF) 51.72 47.45 Mundorf ECap Plain Electrolytic 70V C3 (15uF) 16.22 15.00 Mundorf ECap Plain Electrolytic 70V C4 (4.7uF) 4.601 4.776 Obbligato Copper Series Poypropylene 630V R1 (1.5ohm) 1.479 1.501 Jantzen 10W Superes R2 (47ohm) 46.17 46.84 Jantzen 10W Superes R3 (1.8ohm) 1.759 1.784 Mills MRA 12W R4 (0.27ohm) 0.2547 0.2672 Mills MRA 05W I was surprised that the caps were still in spec. (if +/- 25% had been the rating) and that they measured on the high side of the target value. I used 5% replacement caps and matched pairs much more closely than that, as the measurements above show. For the Tweeter, I chose to replace the basic film cap which lies in the signal path, for an Obbligato Copper Series. These have a reputation for having a clean and open top end, ideal for a Tweeter filter. The ceramic resistor also in the signal path, was replaced with a Mills wire wound, non inductive, having a 1% tolerance. 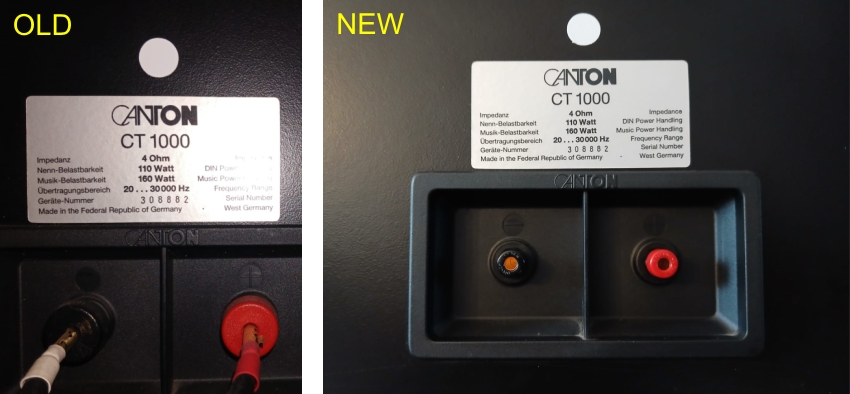 The basic White metal binding posts where changed, to Laboratory grade Hirschmann 35Amp banana sockets. 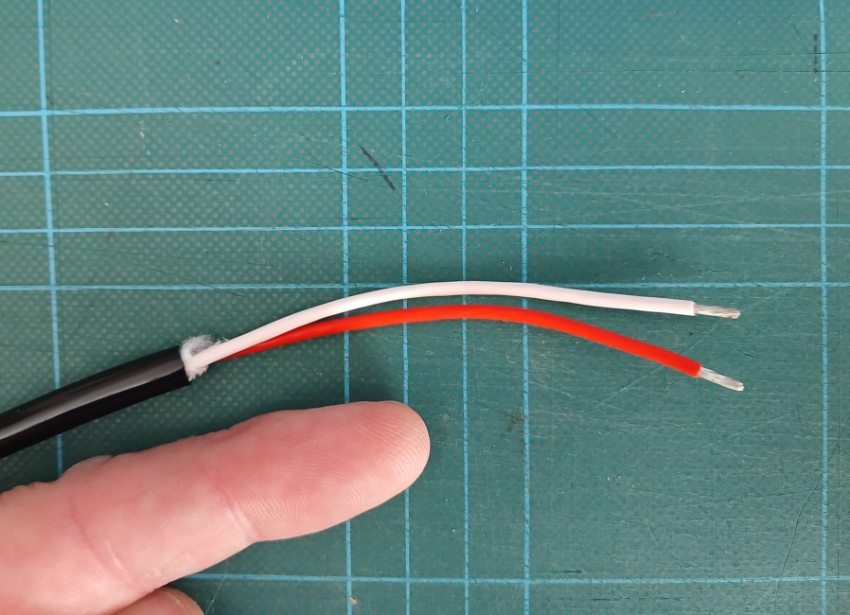 The internal wiring has also been improved. I fitted Atlas Hyper 2.0 speaker cable, from the posts to X-Over and from X-Over to Bass Driver. The Midrange and Tweeter drivers were connected with Atlas Hyper 1.5. These cables use high purity copper wrapped in Teflon and are my go-to speaker cables, I use the same cable inside the cabinet as I do from amp to speaker, I just scale down the thickness slightly for these short internal runs. Thats it for the speakers, they sound great, the refresh didn't change the basic sound signature, just a little bit more separation and cleaner top end, but small changes. These will probably see me out, definitely my keepers. |
 |
 |