Campervan Conversion Spare Wheel Carrier and other external bolt-ons (Updated Mar 2026) Before starting on the floor I needed to reposition the spare wheel. It comes stored under the van, which is a pain to get to in wet/muddy conditions. The winch mechanism to lower the wheel to the ground, is located on the van floor. It's inset from the rear doors and will be covered up by the floor I lay down, so an alternative storage solution was needed. 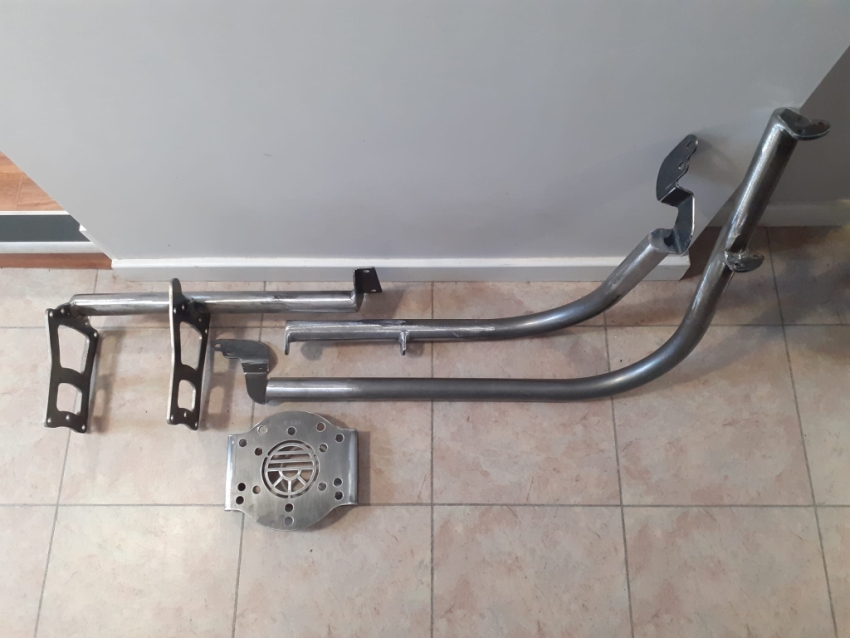 I purchased this very substantial three point rear door carrier, from Wheeliams Ltd. Made specifically for the Mk8/9 Transit, the wheel mounting plate has threaded holes for all the stud patterns you will come across on these models. I will be inserting three stainless bolts from the rear of the plate. Lifting/holding a wheel in the air with one hand, while trying to insert a bolt with the other, is not my idea of fun. Having the three fixed studs to locate the wheel on, then fitting nuts, is a much easier proposition. This carrier comes as untreated bare steel, so you can paint it what ever colour you want, it also means the unpainted parts arrive undamaged. It has laser cut plates and one thing I've noticed, with this and other laser cut parts, is the edges are very sharp and need rounding off a bit with a file. The heat of the laser case hardens the steel so this takes a bit of effort, but is well worth doing. The end result is safer, looks superior and takes paint better, sprayed paint does not like covering sharp edges, so I put a small radius on all of these edges. I gave all the metalwork a coat of Black etch primer. 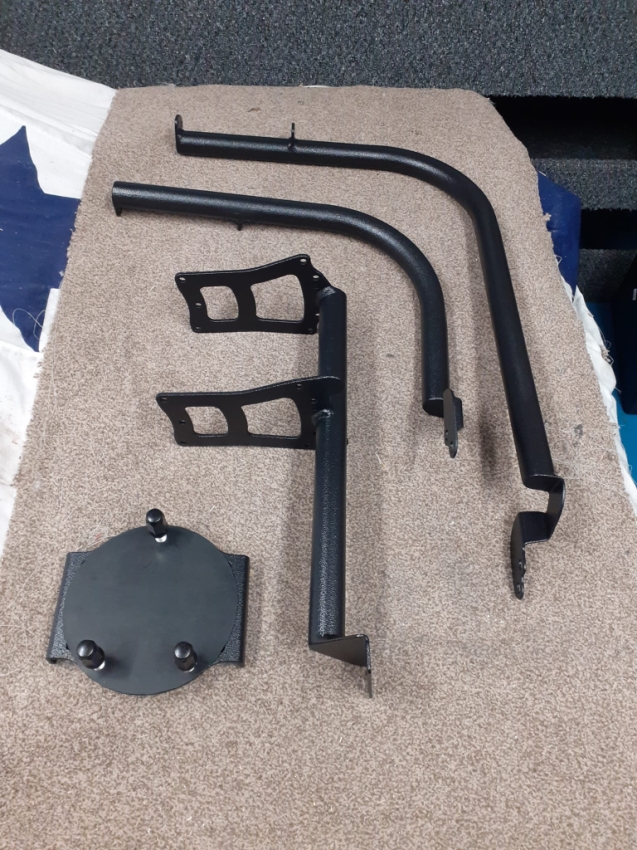 The frame then got a coat of U-Pol Raptor Black liner, a tough, textured, two pack Polyurethane coating. Created originally, for coating pick up truck bed liners, hence the name. 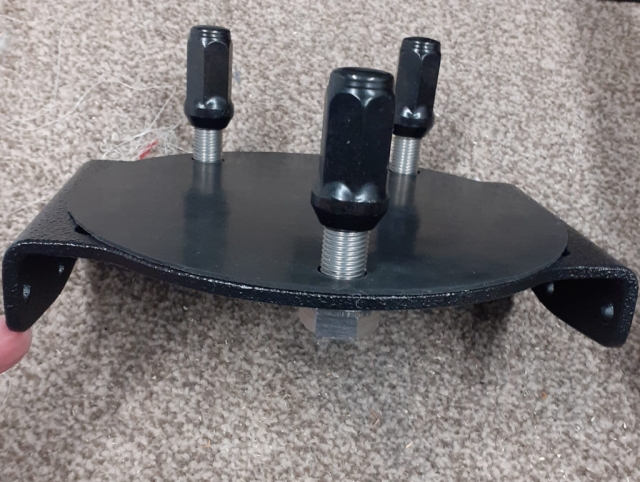 I replaced all the supplied zinc plated fixings with Stainless and added my Stainless M14 x 1.5 bolts to hold the wheel. I also made a rubber spacer for the wheel to pull up against, in an attempt to protect the finish on the plate. 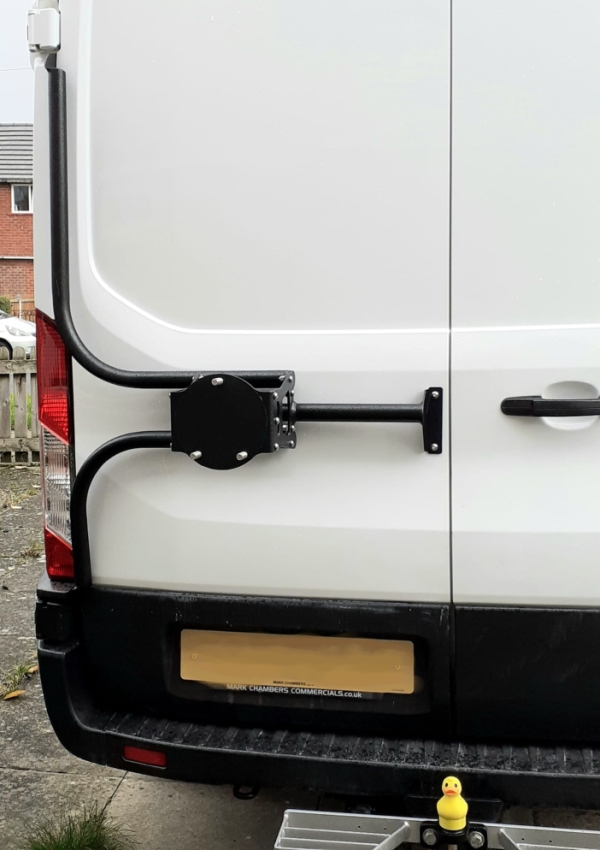 Here it is fitted. It fixes to the door hinge brackets and I had to drill two holes, where it fits to the door skin. The holes are located where the door has a double skin, I fitted M8 Rivnuts to secure this end of the frame. As once the door trim is fitted, it makes access to the supplied nuts difficult, should they need nipping up at a later date. With the Rivnuts I can just give the bolt a turn from the outside. As instructed, this plate also had Sikaflex 522 adhesive applied, to waterproof the bolt holes and prevent the plate rubbing/flexing against the paintwork. It is VERY rigid when everything is screwed up tight. 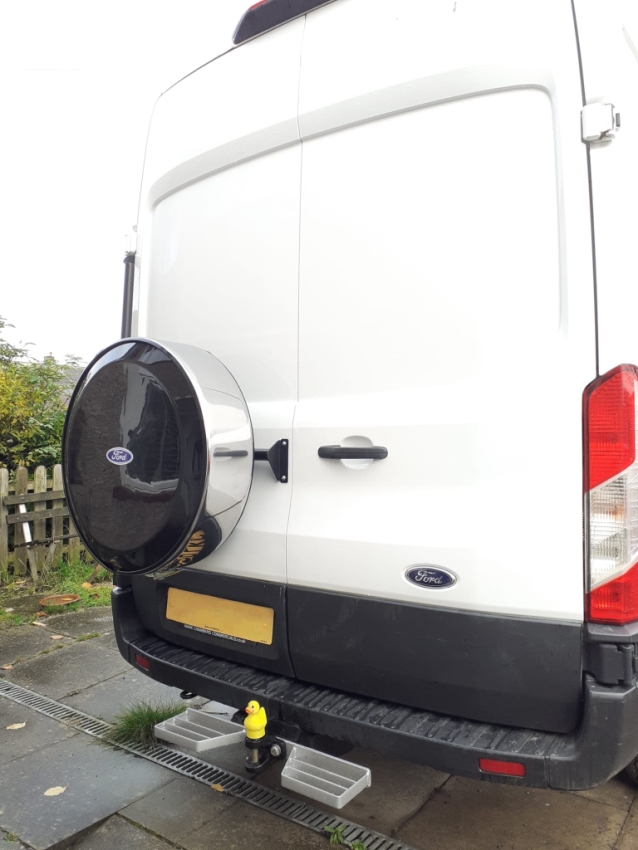 To finish things off, I fitted a locking wheel cover. A Plastic disc with Stainless Steel band and locking mechanism. I think it looks very smart and getting to the spare is so much easier now. Awning Rail I fitted an awning rail as I think the wind out canopies are useless. The sun goes under them, likewise with wind and rain. If it gets breezy, you have to put them in, had one on my motorhome and it was an expensive waste of time.  It's 3.35m long and takes up to 8.5mm dia cord, so pretty universal. |
 |
 |