Campervan Conversion Windows and Skylight (Updated Sept 25) First priority, is to do the tasks that require cutting large holes in the body work. So the windows are a decent place to start. I went for 3 identical windows from Jacksons Leisure. They are the top hinged Adventurer THC, requiring a cut out of 960 x 450 mm. These have curved frames to match curved van panels. They are double glazed Acrylic, but have a flat (flush) look to them and come with Black Out Blinds and Fly Screens. I used an air powered slitting disc to cut out the body struts on the interior of the rear panels and sliding door, then cut the rectangular holes with a jig saw/metal cutting blade, from the outside. I masked the area of paintwork under the jig saw to avoid scratching the paint. Bare edges were treated and the frames sealed with Black Sikaflex 522. 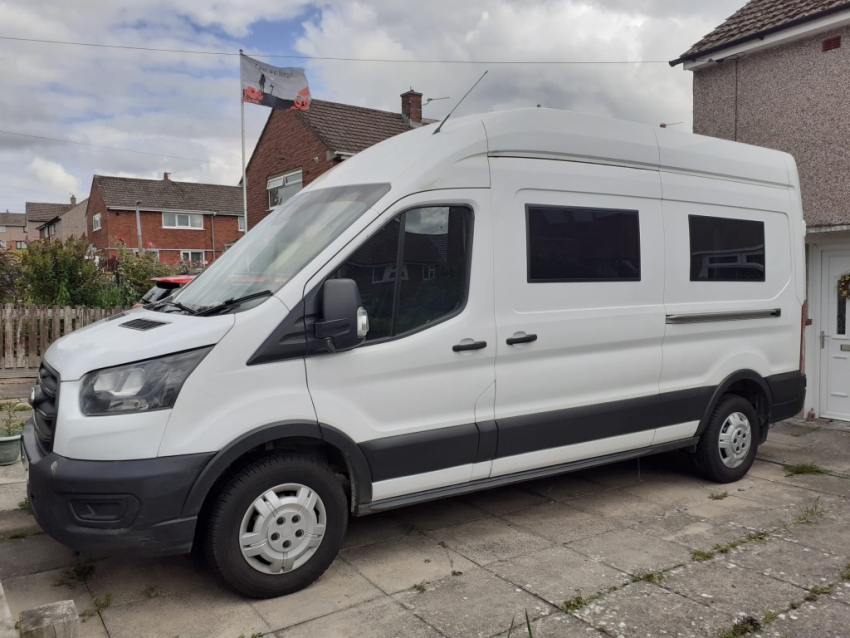 The window glasses are classed as lightly tinted, though I would say medium tint and I lined them up with the top edge of the glass on the cab doors. They look very smart, feel positive in use and are well made, I'm very pleased with them. 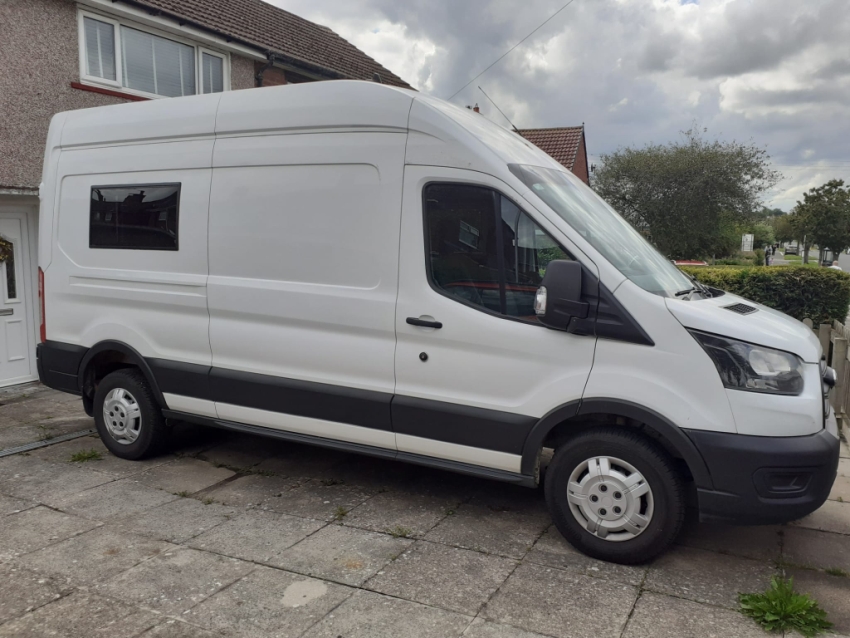 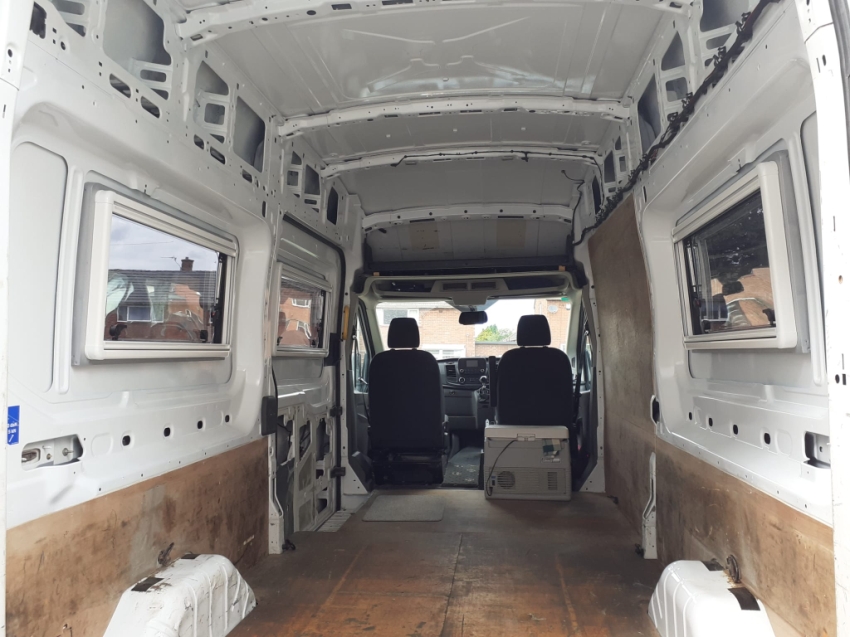 The rear pair of windows are in exactly mirrored positions and will be above the pair of seats/beds. You can see the (Grey) curved wooden spacer frames I had to make, to avoid kinking the body panels when screwed up. 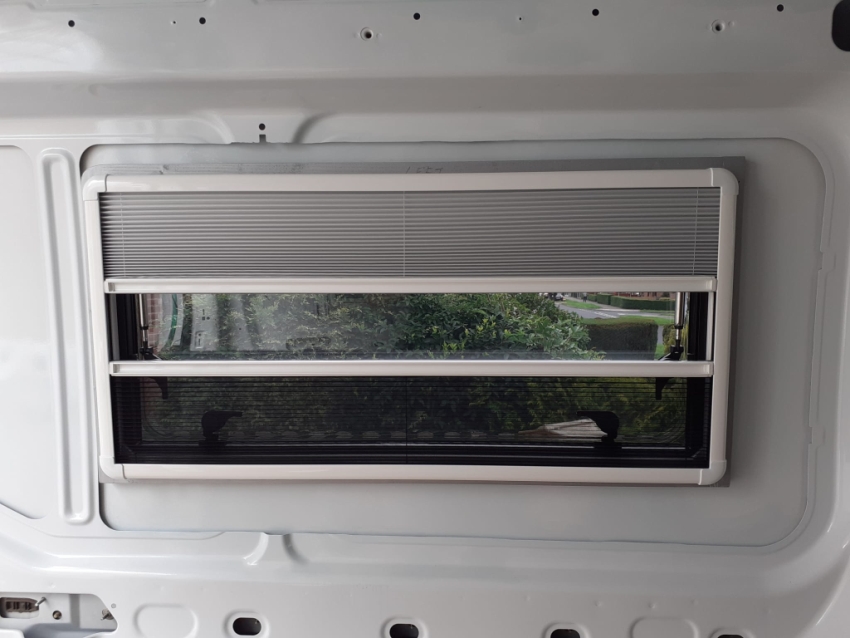 The units have choices for the integral Blinds and Fly screens. I went for the White frames and blinds option. One thing I will say, is that the curve in these frames is made for the average curve on an average van, so its only an approximate match to any of them (understandable). Also, on my mk8 Transit 350, the curve varies along the length of the van. For instance, both of my rear windows rear edges, match the curve of my van almost exactly, but by the time you get to the front edges, the curve in the Van panel is twice as much. This leaves a gap at the top/bottom front corners of about 4mm, gradually tapering off over about 170mm on my approx 500mm tall frames. This was easily filled with Black sealant and is barely noticeable against the Black frames. This is infinitely better than trying to match flat frames, where the gap at these corners would be at least twice as big. Flat window frames this large, when screwed up, would almost certainly cause a kink in the body panel, especially if flat spacer frames were used. My curved window frames, with spacers matching the curve of the body, cause zero distortion. Tip: On the first window, I found when removing surplus sealant, especially on the corners that had gaps, I kept wiping the sealant out of the joint with my cloth and messing up the van paintwork. It took ages to get it any where near a decent finish. On the second window, when doing the trial fit, I masked around the shape of the window whilst in situ. I then removed it, masked the frame itself and added sealant to the rear faces. When the window was screwed into position, sealant oozed out on to the masking tape. I ran round the edge of the frame, with the end of a 6" steel rule, scraping away surplus sealant. While it was still wet, I removed the masking tape, leaving an almost perfect finish and the corner gaps were filled nice and square to the frame. You have a job to see where the Black sealant stops and the Black frame starts. So much quicker and cleaner, definitely a better way of doing it. Skylight A decent sized skylight is next on the list. I was erring toward one without permanent ventilation, as there was talk of vented versions whistling when on the move. However, we had one on our motorhome and it didn't make any kind of noise when traveling. The dominating factor, was the need to have sufficient high level ventilation, to rule out condensation and the possible build up, from gas rings etc, of Carbon Monoxide, which is lighter than air and needs an exit path if present. Again I turned to Jacksons Leisure, while not being the absolute cheapest on every item, they are very keenly priced across their whole range of products and are a bit of a one stop shop for self build parts. I went with the MPK Vision Star L Pro 700 x 500 Rooflight. This has no ventilation as supplied, but can be adjusted by the customer to allow various amounts of permanent ventilation, up to 150sqcm of airflow. It has no LED lights, which is my preference and when open, can be locked off every few degrees, rather than only two or three fixed positions. 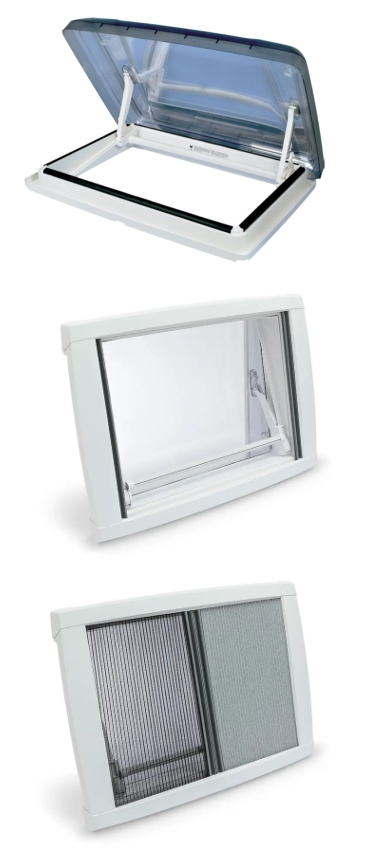 The roof of the van is curved, more so than the sides, it rises 17mm from flat over the width of the skylight. So I needed to make a platform on the outside, to create a flat sealing face. Also, a curved wooden spacer was needed on the inside, to allow it all to pull up square, without distortion. 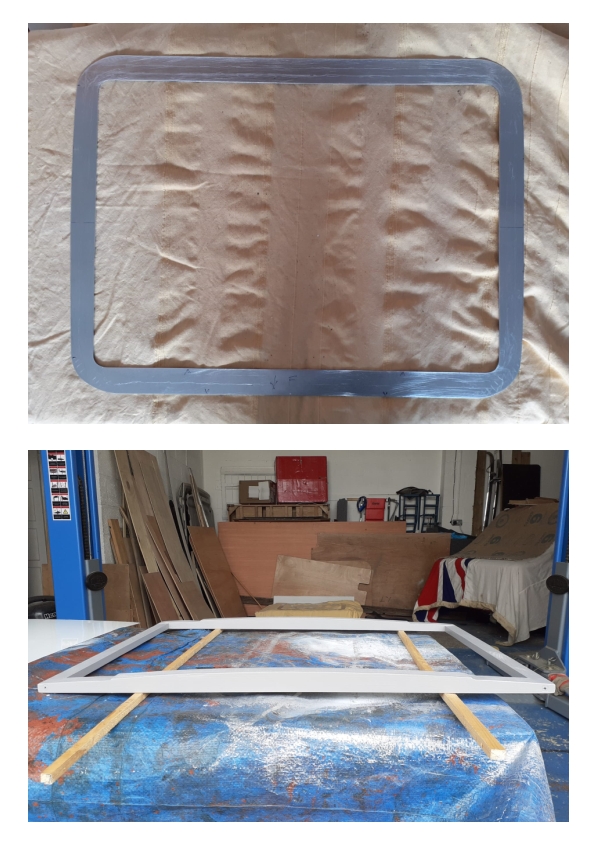 The plate for the outer face, I made from 2mm Aluminium sheet. The wood spacer frame has the required curve and notches, to cope with some ribs in the roof. I gave the frame a couple of coats of self priming Grey paint. 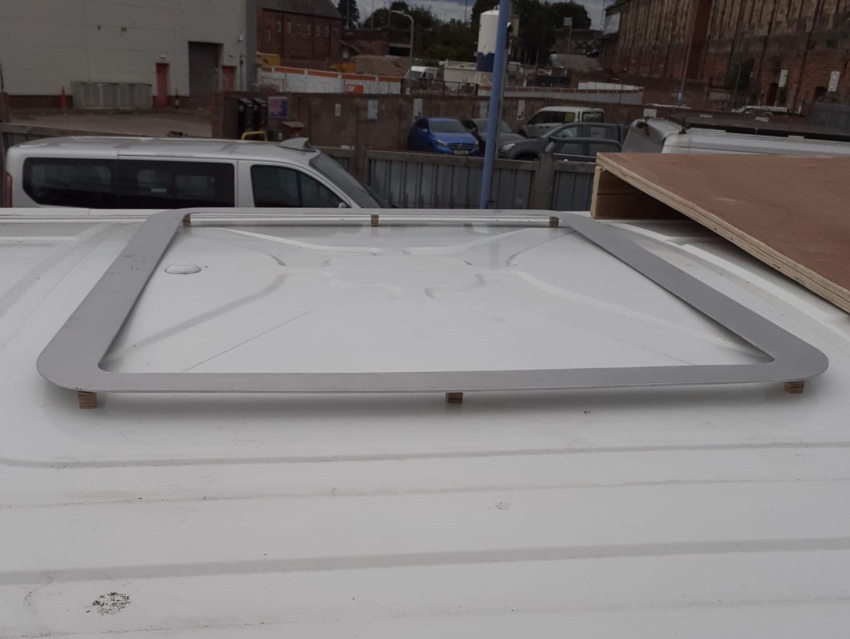 I spaced the plate off the bodywork with some glued wooden pegs. If you put a straight edge anywhere on the top face, its nice and flat. I also made a work platform which straddles the roof and locates in the rain gutters. That's all the preparation done, I'm ready to cut the hole. 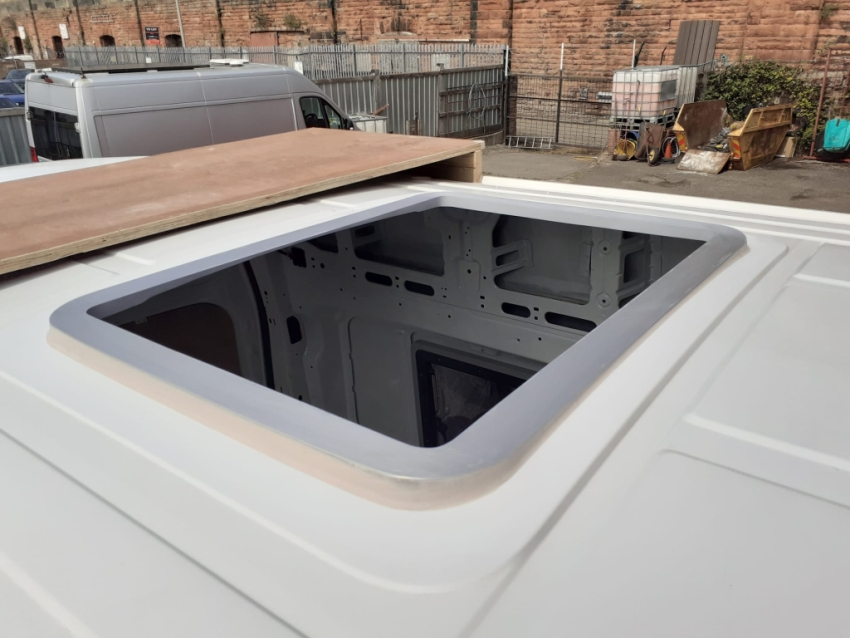 That's the hole cut, used a jigsaw from the inside. Metal plate fixed and filled with high build body filler. 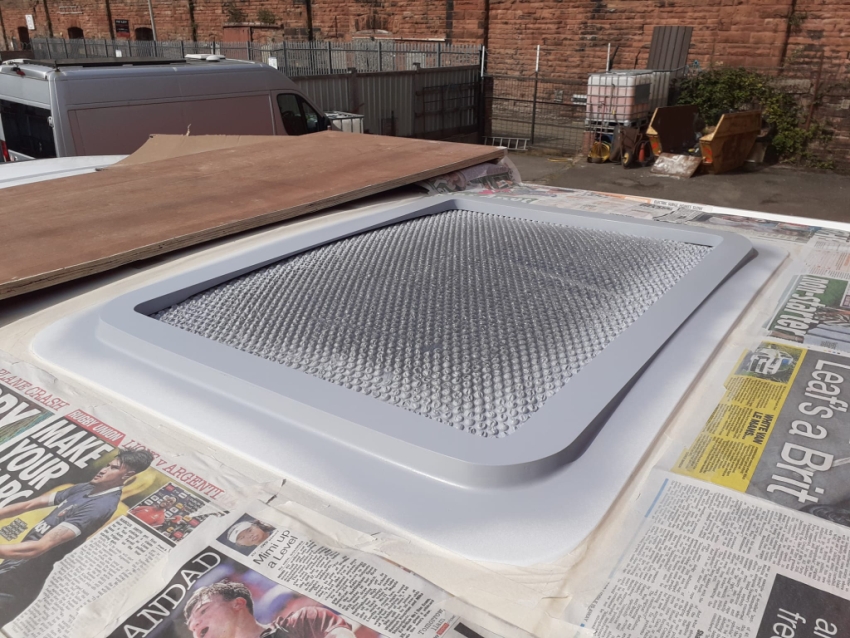 A coat of Acid Etch Primer applied to key into the Aluminium plate. 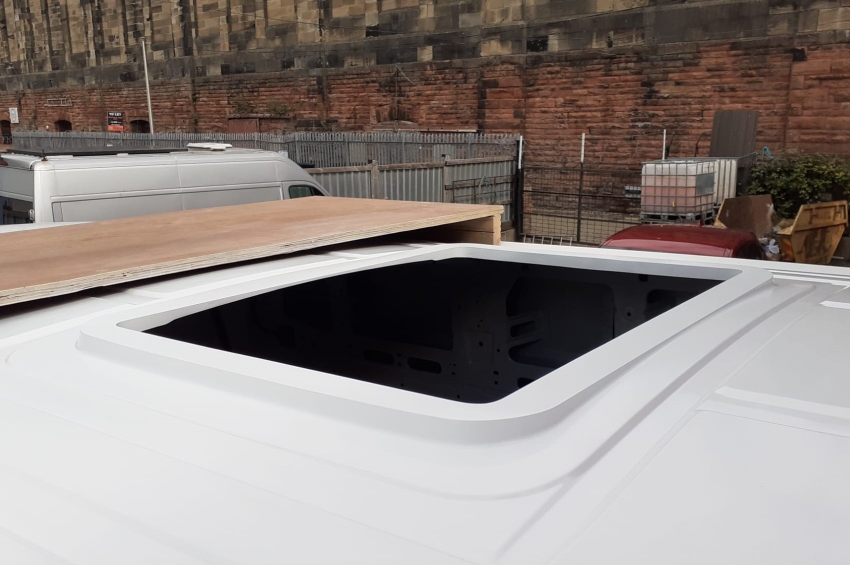 White Primer and White Gloss applied, ready to fit the skylight.  And thats the job done, fixed/sealed with White Sikaflex 522.  The clear lid, opens and locks off, every few degrees. 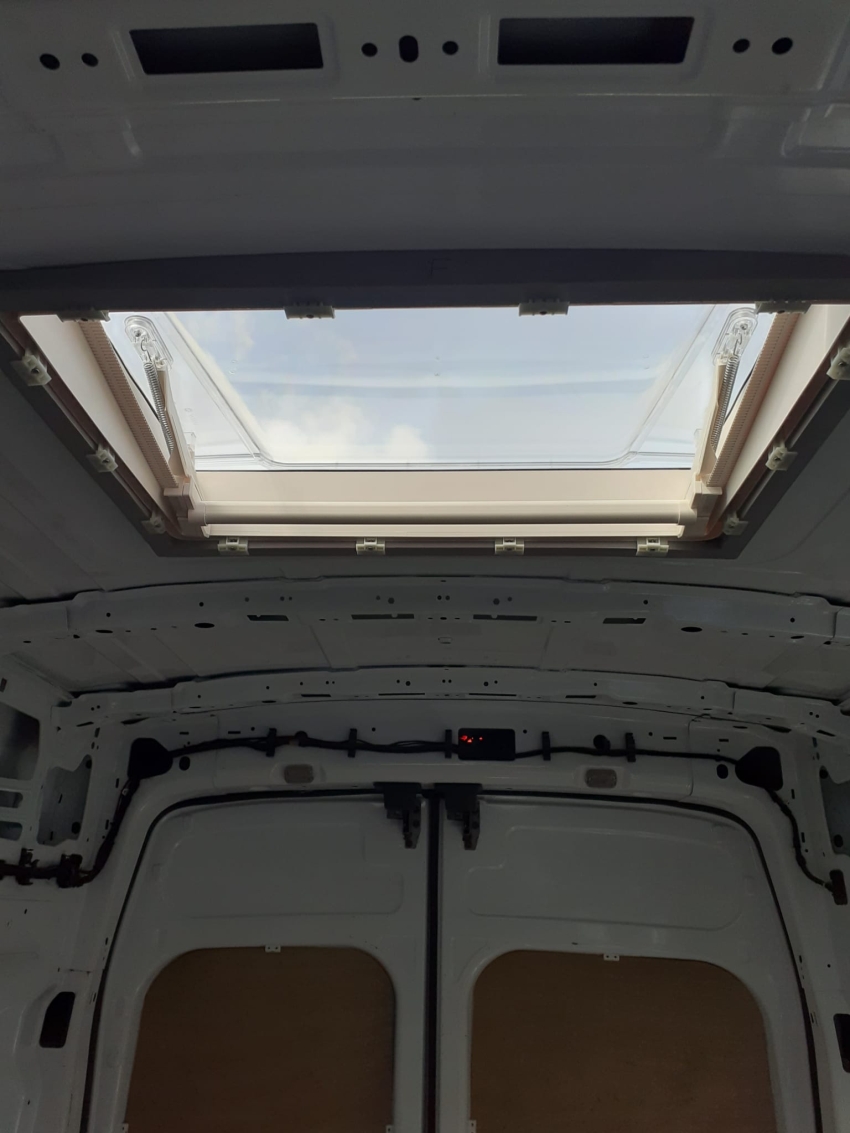 Dropping into a 700 x 500 mm aperture, it lets a fair amount of light into the van and will give plenty of ventilation. 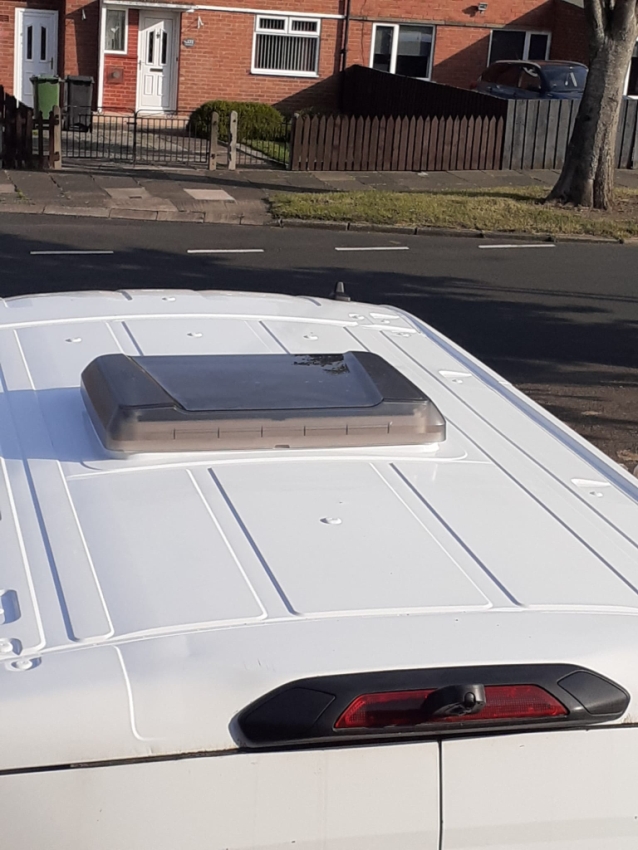 The contours in the roof form a boundary, that just looks right with this size of skylight. |
 |
 |